Showing posts with label embroidery. Show all posts

Sunday, August 7, 2011

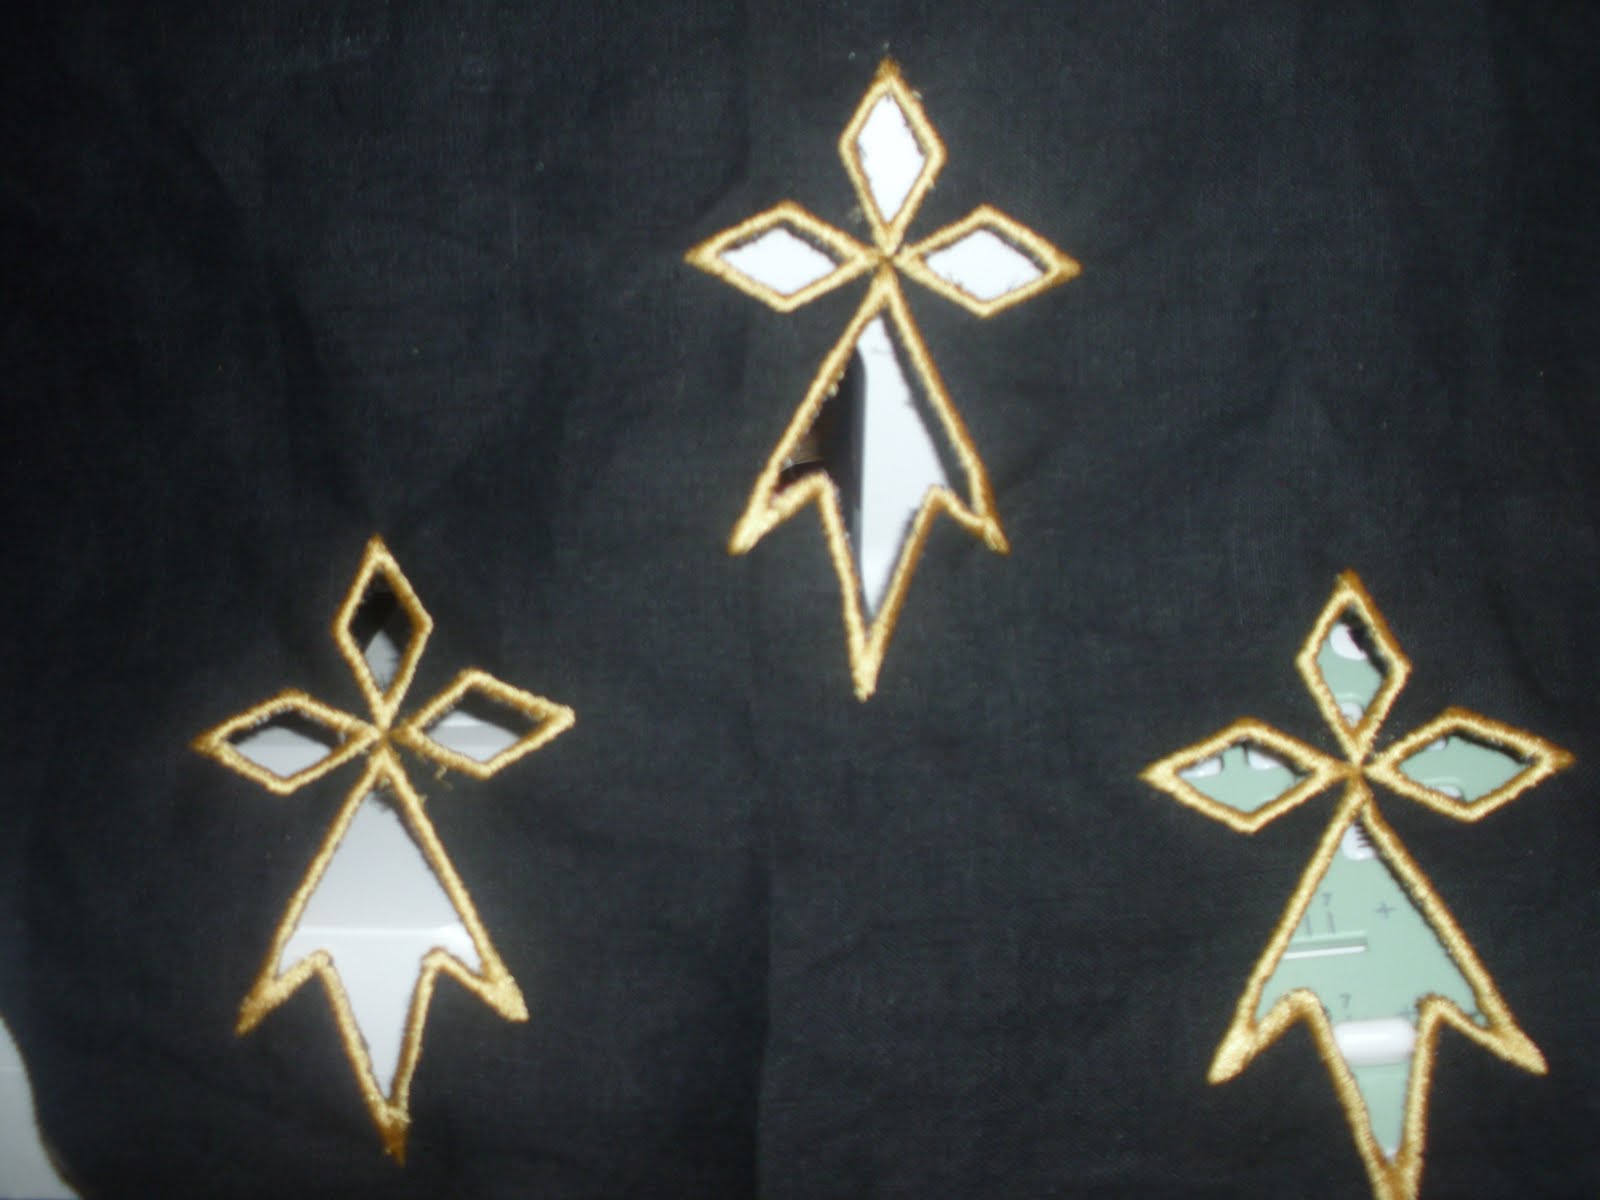
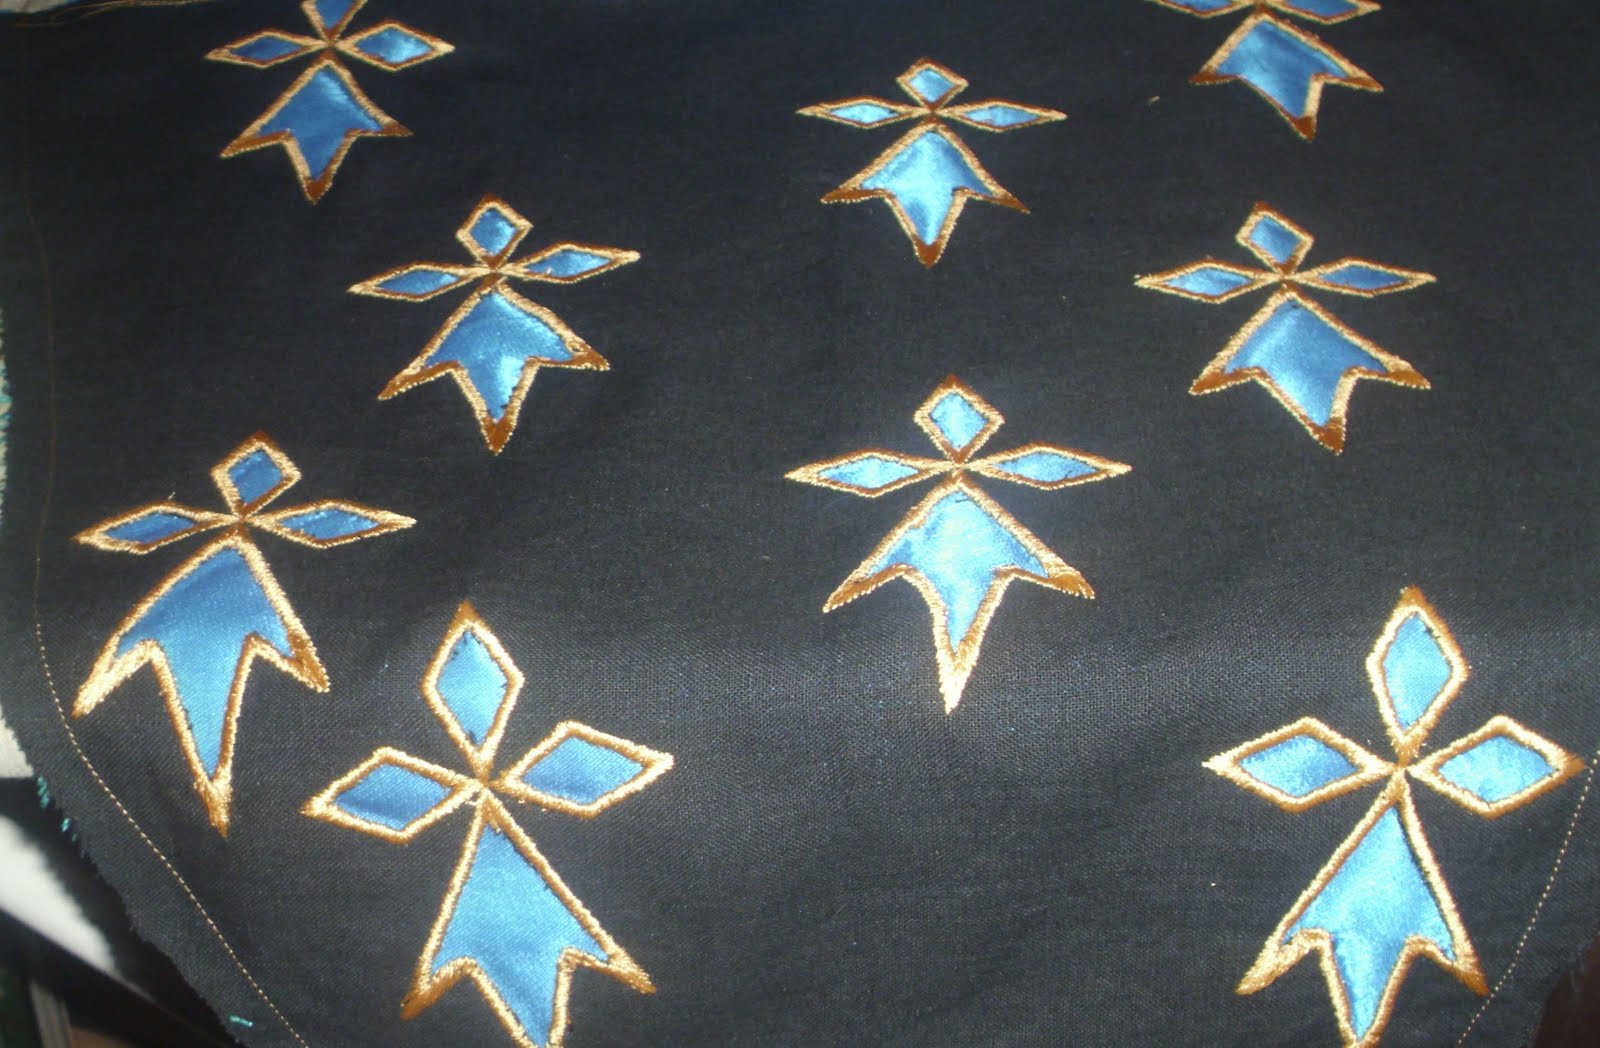
ermine step by step

  • I had a stencil of my ermine spot
  • I draw the outline on my fabric
  • using a running stitch I follow my outline- attaching the fabric to a stabilizer


  • I then cut away the fabric inside the outline as close to my stitching as possible, without cutting the stabilizer underneath- which is why the stabilizer is so important you don't want the fabric to stretch or warp in any way
  • Then I do a zig zag to help catch stray threads around the outline. this helps it look cleaner in the end, and will give it a little more strength to hold it's shape later
  • I then use a wider shorter zig zag stitch to applique around the edges
  • cut away the stabilizer on the inside, trim the stabilizer around the outside an it's done!!

This can also be done by hand although for the time crunch I decided to use my machine as your cut away designs get smaller you will have to sew it by hand- trust me it will save you headaches later!! a simple whipstitch can be used to clean up the edges and I would suggest a buttonhole stitch to finish the outline- It holds up better and has less of a chance of shifting revealing the raw fabric edge underneath then whipstitch. You can fray check your cut edges before finishing but it isn't required. 

last ermine spot

I am starting the embroidery of the last ermine spot on the second sleeve........ thank goodness!

Monday, May 30, 2011

this last week

so this last week I finished my petticoat, black silk veil and started the blackwork on the sleeves of my camicia. It may not feel like I got a lot done but I know the blackwork takes time. I can strike layer 2 off my to do list and focus on finishing layer 1. I would love to get it finished over this next week but I am not sure how much time I can devote to the blackwork.

Thursday, May 26, 2011

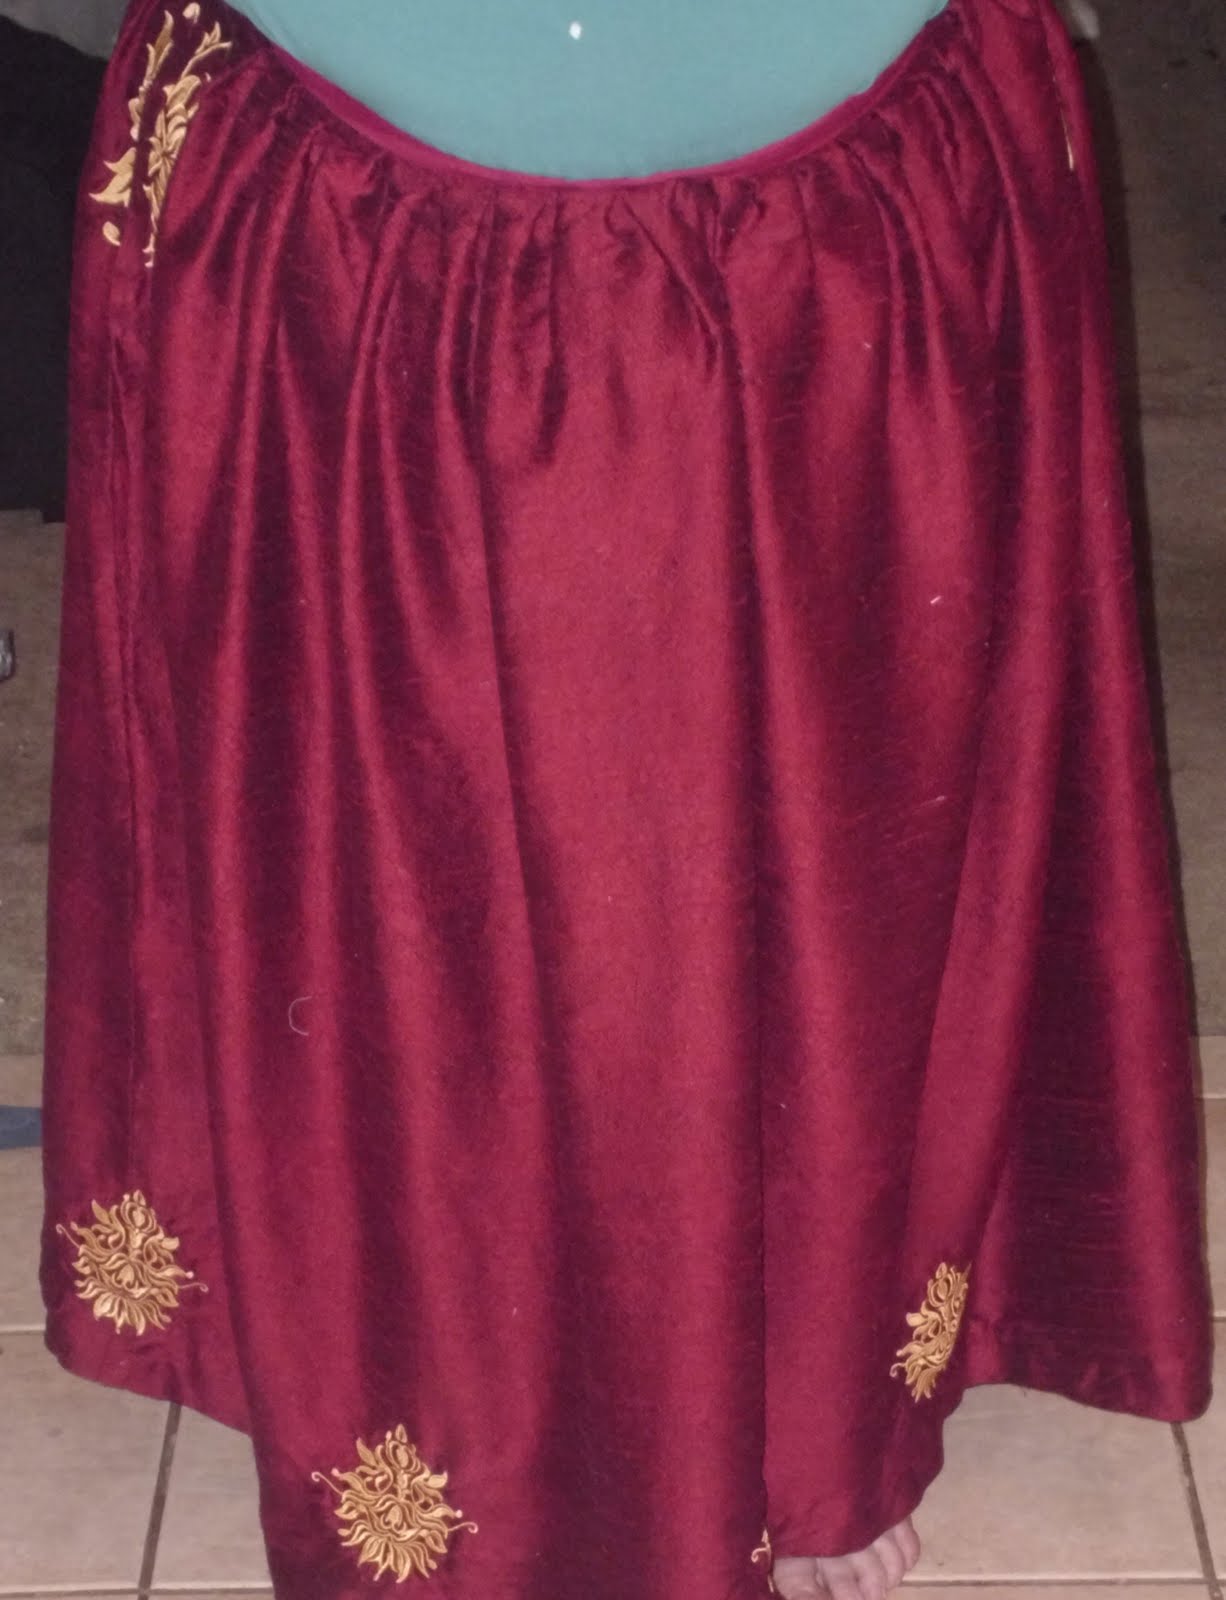
Petticoat pictures!

Red silk with gold embroidery. Not the best pictures as I tied it a little low in the front but it will do untill I can get better ones taken

Front

side

close up of damask around hem

close up of embroidery at pocket slits

Tuesday, May 24, 2011

Saturday, May 21, 2011

update

Sent my update for the last two weeks. I wish I had more to report but life has snuck up on me.


 I have done some gold embroidery on my red silk petticoat, started work on a drawn thread handkerchief, and finished two veils. One of gold silk and one long sheer one hand dyed and trimmed with lace.

Sunday, May 15, 2011

Scroll

so once again my plans to work on the challenge we thwarted. I was asked to do a scroll blank for coronation. Now normally that would just be a boarder then call it good but I was asked to do our grant level arts award so I naturally went over the top and did the text as well so all that needs to be added is the name and date. I am pretty darn proud of it

Monday, May 9, 2011

Petticoat

There is progress on the petticoat! I cut out the panels and stitched them up and added some embroidery at the  "pocket" slits- where the petticoat ties to form slits I can use to get to my pocket.

Thursday, April 28, 2011

flag fan

The flag fan was popular in Italy and particularly in Venice. Examples can be found in Vecellio's Renaissance Costume Book, Jean Jacques Boissard's Habitus Variorum Orbis Gentium (1581), . There are few extant fans from the 16th century. Flag fans have been recorded as being made from vellum, silk, painted linen or embroidered. 
Extant example

There are several portraits also showing flag fans.


Including my inspiration portrait

For mine I am using porcelain clay and fabric. On one side I will be embroidering my household badge, on the other I will be painting my device.


A picture of the top of the flag fan

as you can see I haven't sewn up the bottom of the flag yet- I'm using a bit of plastic canvas to help the flag keep it's shape. once I finish stitching it up I will start painting my device on the back

Wednesday, April 27, 2011

Stockings done!

Finished!!

Linen stockings with courtesan embroidered clock (just above gussest at the ankle) with blackwork fold over welt (top).

Sunday, April 24, 2011

Stockings, pocket and embroidery

So as you can see from my last post the pocket is done! I will admit the embroidery is not done by hand as my darling husband gave me a magical machine that can do some really nifty stuff and part of my challenge for this gown is to really give my machine a workout. Since I used the courtesan motif several times it is digitized so I can keep it looking consistent.

In light of the time crunch I know there is no way I could do all the embroidery by hand, take care of my 4 year old son, coach my student to the National speech and debate meet, and be a full time student myself. I have no intentions of entering this as an A&S project so I want to go for the wow, that looks so cool factor over the authentic factor. I can do hand embroidery but I just don't have the time. There will be some blackwork and beadwork done for this project but I find I can do that rather quickly.

My stockings are moving along at a much better pace now. I had to fix the elephant ankle look I had going on, and I am much happier now that it looks much smoother. The embroidered clocks are done (little embroidery above the ankle gusset for decoration and strength) and the welts (tops) are waiting to be attached.

My next step is to start work on the embroidery for the drawers. This will take a little time, but it is a large pattern and should move quickly but I am covering a lot of fabric. I am going to do the embroidery first then cut out the fabric. I haven't decided if I will do a split crotch or not. I can't find any proof of split crotch during this time but after making a pair for a Victorian gown I am not sure I could survive without them. They make life so much easier with a lot of skirts and a port-a-john.

I am also arguing about whether or not I want a linen camica with strips of blackwork to match the drawers or make a silk camica...hmmmmmm choices.

Wednesday, April 20, 2011

Stocking #1 cut out

so I have cut out the first stocking. Since I am using this blog to document everything I think you guys deserve some sneak peaks and the like

 Stocking and Welts


Close up of the black work on the welts